Published
Self Hosting AI Chat with Local Models
Setup Ollama and Open WebUI for local AI chat
As my self-hosting journey continues, I’ve been exploring ways to bring AI capabilities under my own roof. Running large language models locally doesn’t have to be complicated, and the privacy benefits are significant. With Ollama providing the model runtime and Open WebUI delivering a sleek chat interface, I’ve created my own private AI environment that I can control completely.
In this guide, I’ll walk you through how I set up both using Docker Compose and route everything through Traefik. By the end, you’ll have your own local LLM environment where you can chat with models like Llama 3, Mistral, or Gemma without sending your conversations to third-party services.
Table of Contents
- Prerequisites
- Understanding the Components
- Docker Compose Setup
- Getting Started
- Open WebUI
- Downloading Models
- Accessing the Ollama API
- Adding GPU Support
- Conclusion
- Further Resources
Prerequisites
This is everything you’ll need to get started:
- Docker and Docker Compose installed
- At least 8GB RAM for decent performance (more is better, especially for larger models)
- Plenty of disk space. At the time of writing, the most popular model on Ollama is 14GB
- A decent CPU (a GPU is better if you have one!)
Understanding the Components
Advertisement
Continue reading below
Here’s the setup we’ll be building:
- Ollama: The backend service that runs the actual language models.
- Open WebUI: A browser-based frontend that connects to Ollama’s API for a chat-like experience.
- Traefik: A reverse proxy that allows us to route traffic to Open WebUI from a nice domain
- Docker Compose: Defines how these containers talk to each other and persists data between restarts.
Docker Compose Setup
Here is the docker-compose.yml file that I’m using.
services:
  ollama:
    image: ollama/ollama:latest
    container_name: ollama
    restart: unless-stopped
    volumes:
      - ./ollama:/root/.ollama

  open-webui:
    image: ghcr.io/open-webui/open-webui:main
    container_name: open-webui
    restart: unless-stopped
    depends_on:
      - ollama
    environment:
      - OLLAMA_BASE_URL=http://ollama:11434
    volumes:
      - ./open-webui:/app/backend/data
    labels:
      - traefik.enable=true
      - traefik.http.routers.openwebui.rule=Host(`<you domain name>`)
      - traefik.http.routers.openwebui.entrypoints=websecure
      - traefik.http.routers.openwebui.tls.certresolver=cloudflare
      - traefik.http.services.openwebui.loadbalancer.server.port=8080

  traefik:
    image: traefik:3.5
    container_name: traefik
    restart: unless-stopped
    volumes:
      - ./letsencrypt:/letsencrypt
      - /var/run/docker.sock:/var/run/docker.sock:ro
    ports:
      - 80:80
      - 443:443
    environment:
      - CF_API_EMAIL=<your email address>
      - CF_API_KEY=<your cloudflare api key>
    command:
      - --providers.docker=true
      - --providers.docker.exposedbydefault=false
      - --providers.docker.watch=true
      - --entrypoints.web.address=:80
      - --entrypoints.web.http.redirections.entryPoint.to=websecure
      - --entrypoints.web.http.redirections.entryPoint.scheme=https
      - --entrypoints.websecure.address=:443
      - --certificatesresolvers.cloudflare.acme.dnschallenge=true
      - --certificatesresolvers.cloudflare.acme.dnschallenge.provider=cloudflare
      - --certificatesresolvers.cloudflare.acme.dnschallenge.resolvers=1.1.1.1:53,1.0.0.1:53
      - --certificatesresolvers.cloudflare.acme.email=<your email address>
      - --certificatesresolvers.cloudflare.acme.storage=/letsencrypt/acme.json
Advertisement
Continue reading below
For this setup, I’m using Cloudflare as the certificate provider for Traefik. There are other options, but since I’m using Cloudflare already, it was the simplest. The Traefik config also automatically redirects HTTP to HTTPS.
The Ollama and Open WebUI contains are pretty straightforward with minimal config and volumes configured for storage.
Getting Started
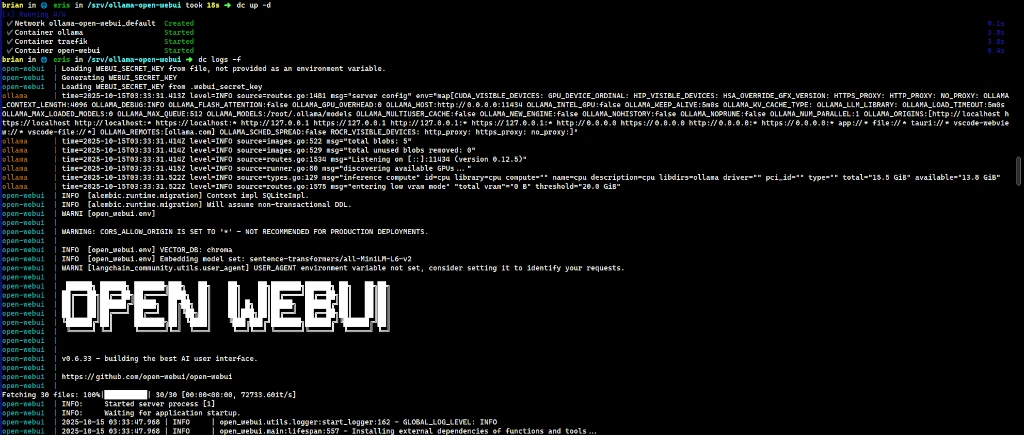
With the docker compose file set up with Cloudflare auth, you can use docker compose up -d
to start everything in the background. It’ll take Traefik a moment to get certificates,
so while you wait, you can download a model with ollama.
To download a model with the command line interface for Ollama, run:
docker compose exec ollama ollama pull gemma3You can find a whole list of models on ollama.com. If you’re resource-constrained with your server/computer, you’ll want to stick with smaller models.
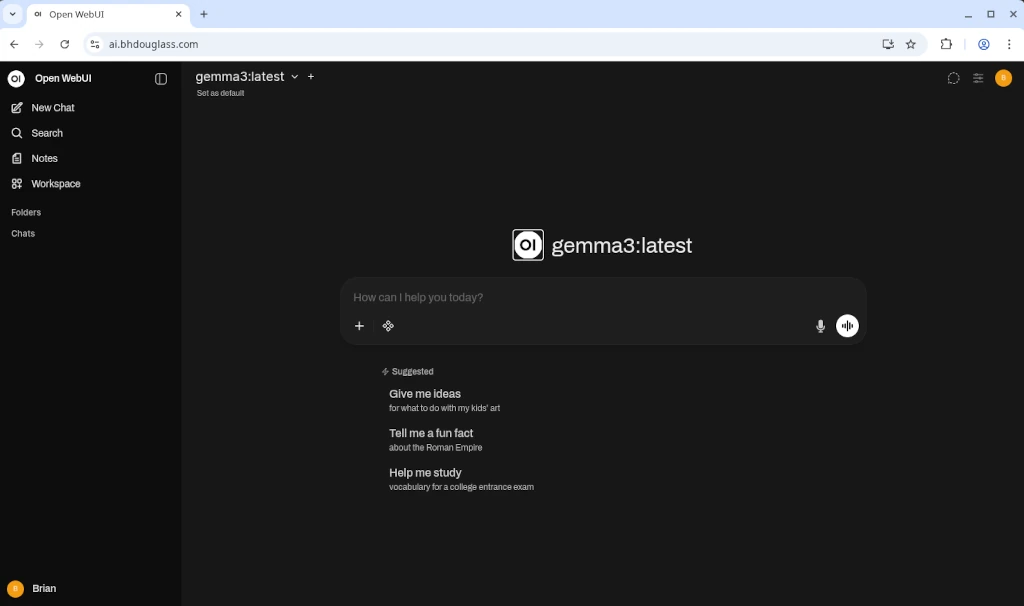
Open WebUI
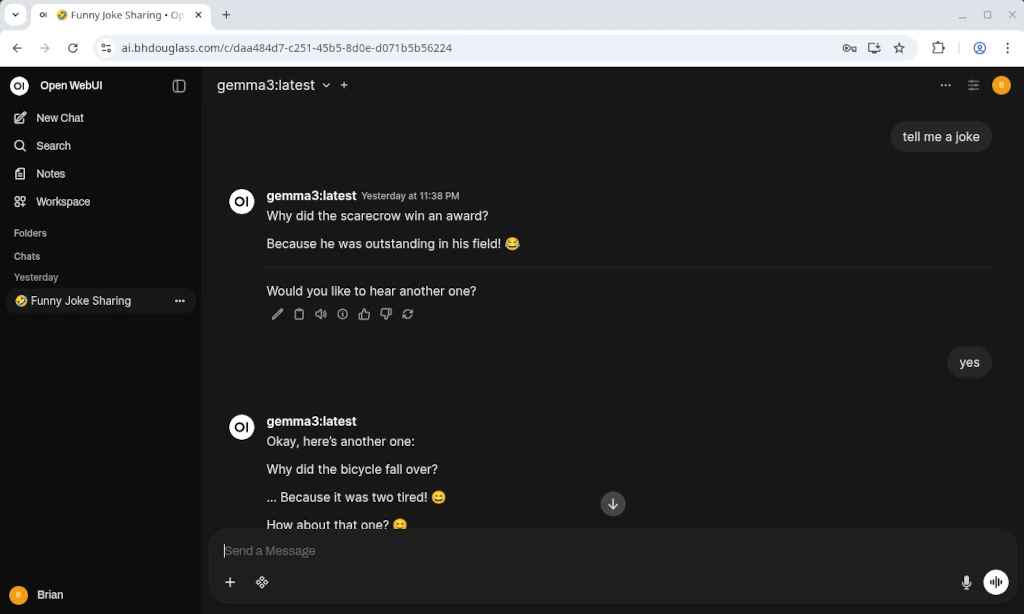
Once Traefik has set up certificates for your domain, you can then access it via your browser. Upon first start, Open WebUI will prompt you to create an admin account. Once created, you can start chatting right away with the model you downloaded in the last section.
Beware: This can open your local computer so that anyone can access your Open WebUI instance. I personally use local IP addresses or a Tailscale IP in Cloudflare.
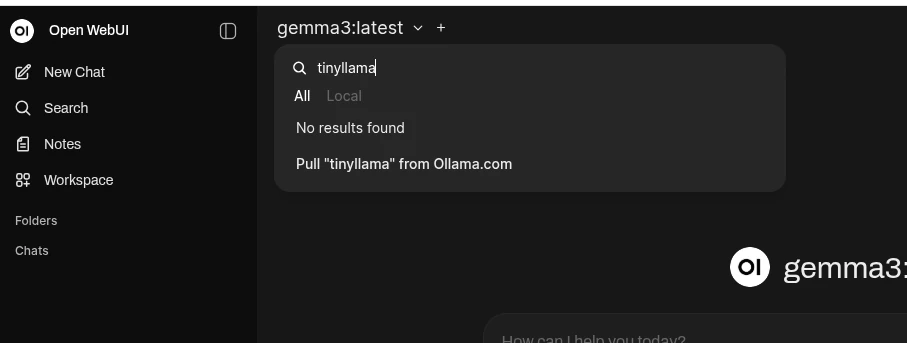
Downloading Models
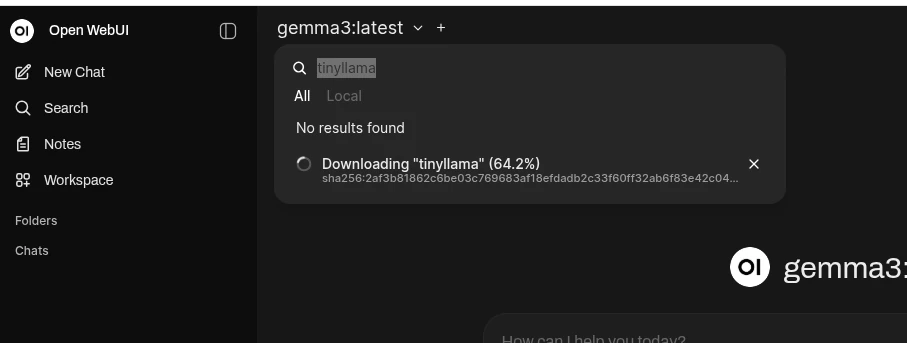
In addition to downloading models via the command line, you can also download models directly from the Open WebUI interface. You’ll have to find the name of the model on ollama.com. Then copy and paste that into Open WebUI’s model selector and choose to “Pull from Ollama.com”.
Advertisement
Continue reading below
Accessing the Ollama API
If you want to be able to access your Ollama instance’s API you’ll need to either expose Ollama’s port (11434) or add the following to add a domain to Ollama:
  ollama:
    <...the rest of the ollama service definition from before...>
    labels:
      - traefik.enable=true
      - traefik.http.routers.ollama.rule=Host(`<your ollama domain>`)
      - traefik.http.routers.ollama.entrypoints=websecure
      - traefik.http.routers.ollama.tls.certresolver=cloudflare
      - traefik.http.services.ollama.loadbalancer.server.port=11434
Once you’ve restarted your stack (docker compose down && docker compose up -d),
you’ll be able to route to your Ollama API via the domain you configured.
Adding GPU Support
If you’re just using a CPU, performance can be an issue (fans too!), especially with larger models. But, if you have a compatible NVIDIA GPU, you can significantly speed up model inference by adding:
  ollama:
    <...the rest of the ollama service definition from before...>
    deploy:
      resources:
        reservations:
          devices:
            - driver: nvidia
              count: all
              capabilities: [gpu]
You’ll also need to install the NVIDIA Container Toolkit
in order to take advantage of this. But once that is installed and the docker-compose.yml file
is updated, restart the containers to see increased performance.
Advertisement
Continue reading below
Conclusion
This setup works best using small models on a CPU or by having a GPU setup. But it is a huge step towards using AI locally without worrying about privacy, usage limits, or subscription costs.
The configuration I’ve shared should get you started with a clean, reproducible setup. From there, you can customize it to your needs, try different models, and integrate it with your other self-hosted services.